Free Guides to Transact & Get on the BTC Map
Complete setup for your Blink Wallet, learn to send and receive Bitcoin, and get listed on Bitcoin Maps. Follow each step to join the peer-to-peer Bitcoin economy!
Setup Progress
0%Download and Setup Blink Wallet
Get started with your Bitcoin wallet
✅ TASK CHECKLIST:
iOS INSTRUCTIONS:
• Open App Store and search “Blink Bitcoin”
• Look for the official app with the lightning bolt icon
• Tap “Get” to install
• Open the Blink app
• Tap “Create Account”
• Enter your phone number or email address
• Tap “Next”
• Check your SMS or email for a 6-digit One-Time Password (OTP)
• Enter the code in the app
• Tap “Verify”
• Create your Username (this becomes your Lightning Address: yourname@blink.sv)
• View your main wallet screen showing Current Balance
• See your Bitcoin (BTC) and Stablesats (USD) accounts
• Stablesats keeps funds in USD equivalent to manage volatility
• You’re ready to send and receive Bitcoin!
ANDROID INSTRUCTIONS:
• Open Google Play Store and search “Blink Bitcoin”
• Look for the official app with the lightning bolt icon
• Tap “Install”
• Open the Blink app
• Tap “Create Account”
• Enter your phone number or email address
• Tap “Next”
• Check your SMS or email for a 6-digit One-Time Password (OTP)
• Enter the code in the app
• Tap “Verify”
• Create your Username (this becomes your Lightning Address: yourname@blink.sv)
• View your main wallet screen showing Current Balance
• See your Bitcoin (BTC) and Stablesats (USD) accounts
• Stablesats keeps funds in USD equivalent to manage volatility
• You’re ready to send and receive Bitcoin!
💡 TIP:
Your username becomes your Lightning Address (like an email for Bitcoin). Choose carefully – it’s often permanent!
🏪 FOR MERCHANTS: Download Your Payment QR Codes
Your Blink wallet has a permanent “Paycode” – a static QR code for accepting payments:
- Open your Blink app
- Tap “Receive”
- Look for “Paycode” or “Static QR” option
- Screenshot to save the QR code image
- This QR code can be printed and displayed at your store permanently
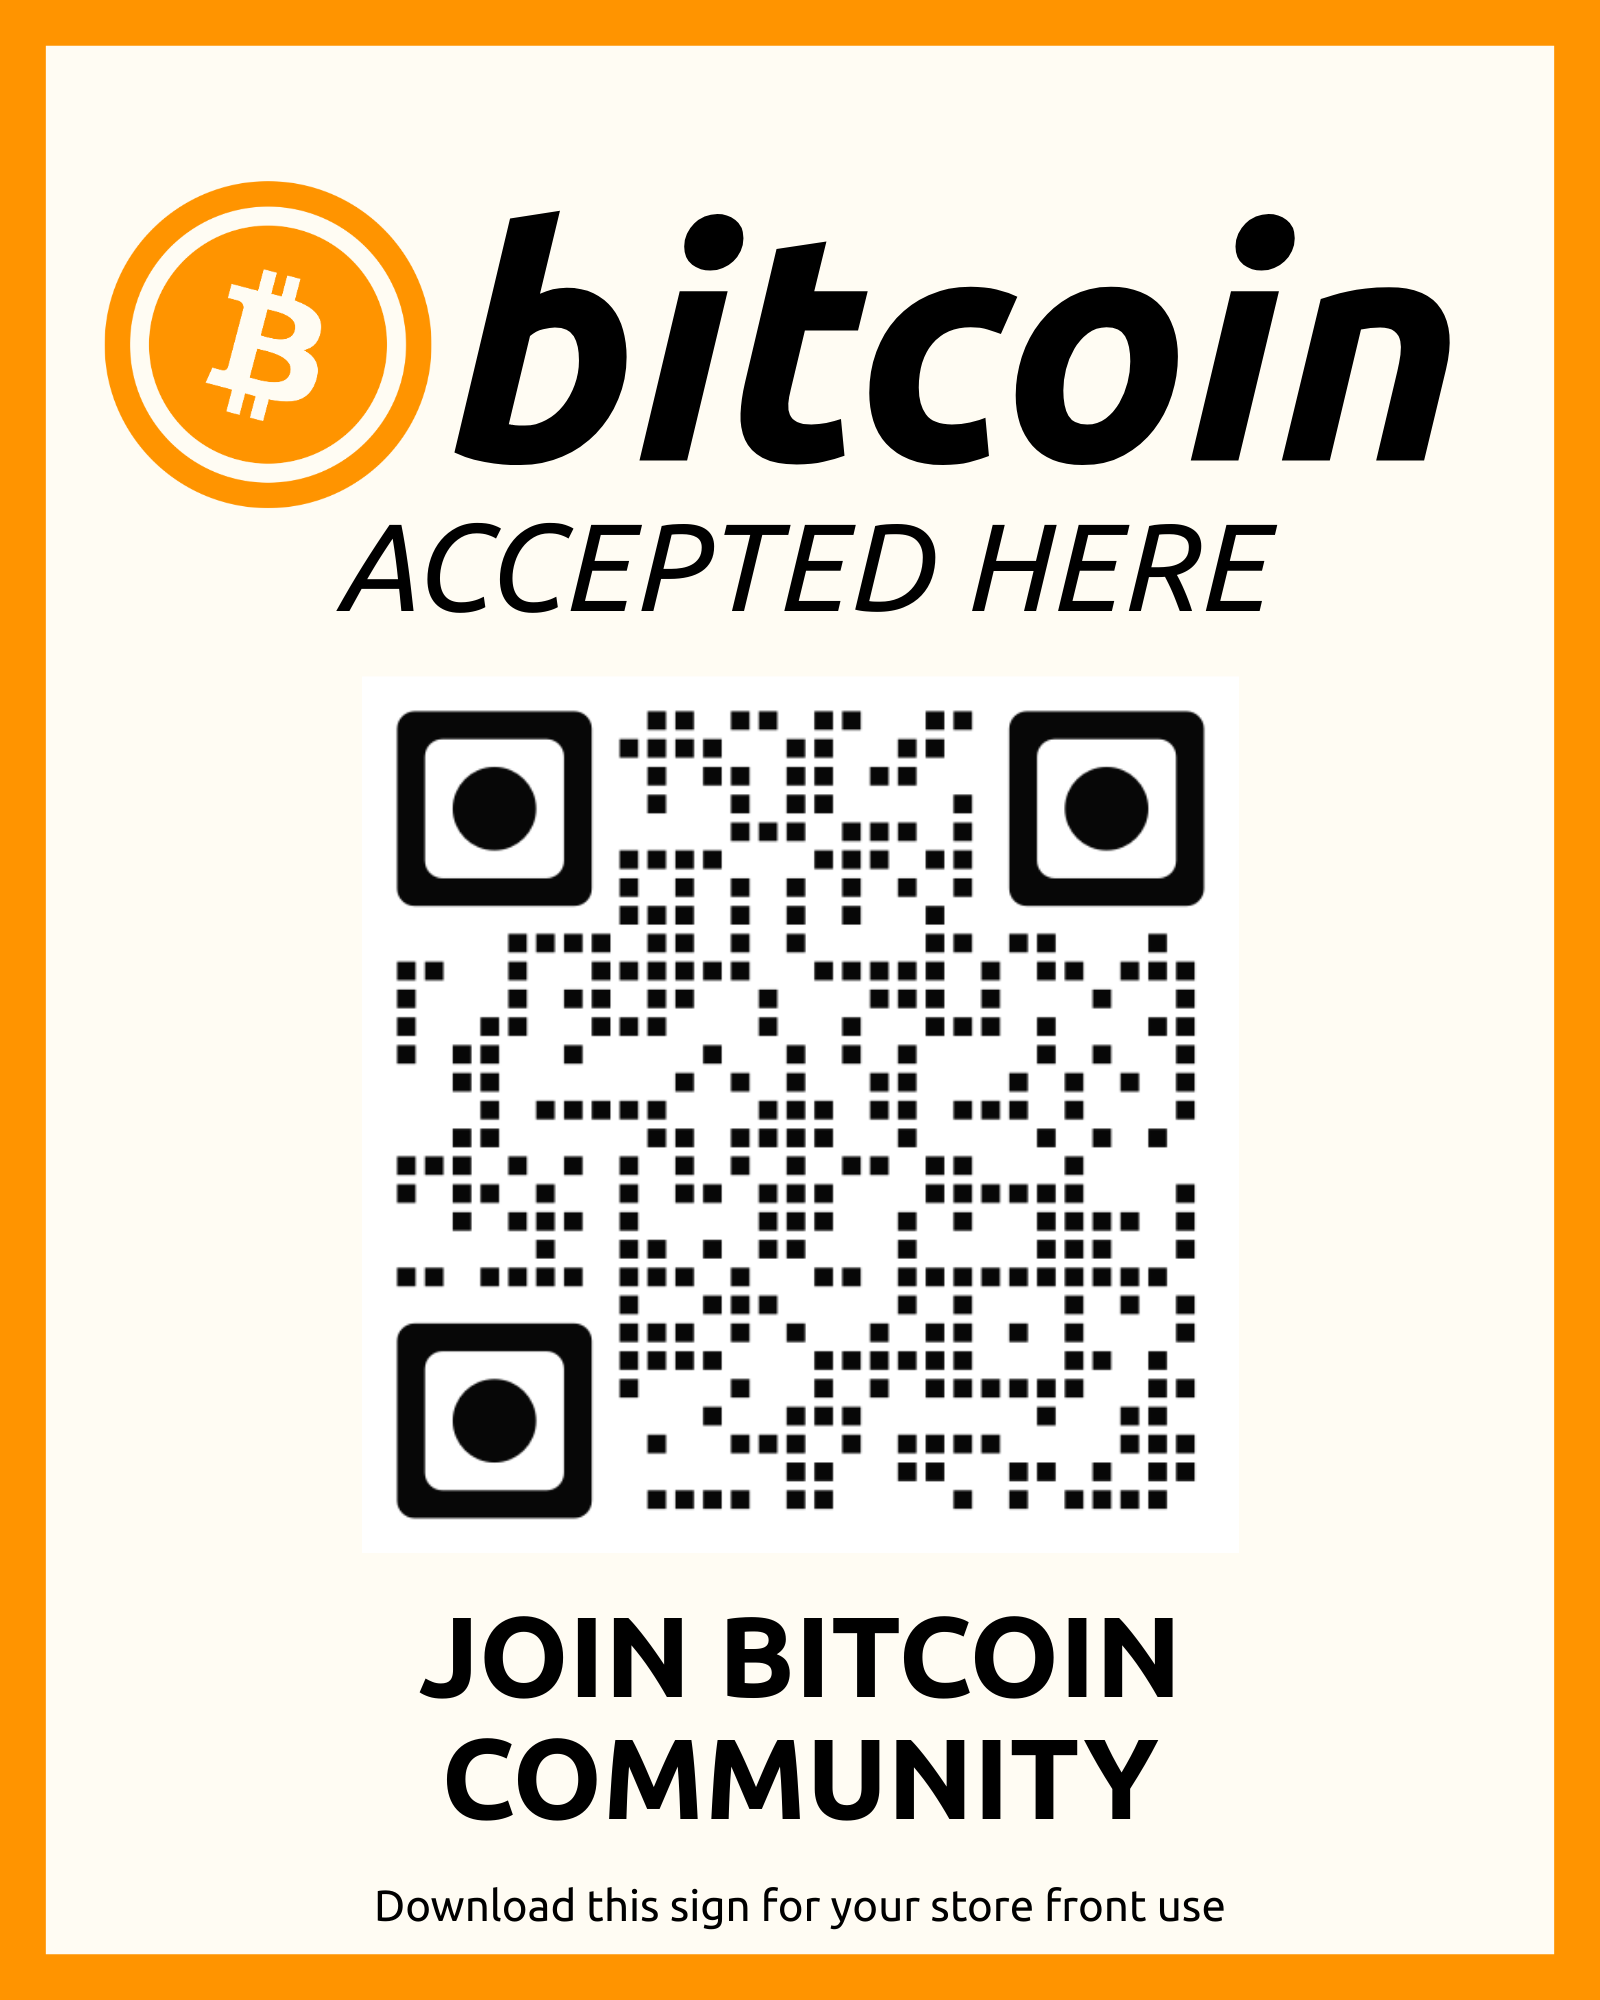
Help grow the Bitcoin community by displaying our promotional QR code:
- Download our community QR code: 📥 Download Community QR Code
- This QR code helps attract new Bitcoin users to our platform
- Display it alongside your Blink Paycode at your store
Make Bitcoin payments easy for your customers:
- Print your Blink Paycode QR – Customers scan this to pay you
- Print our Community QR – Helps onboard new Bitcoin users
- Display both QR codes prominently at your checkout or entrance
- Consider laminating them for durability
- Add text: “We Accept Bitcoin – Scan to Pay”
💡 Why Two QR Codes?
Blink Paycode QR: Your personal payment address – customers scan this to send you Bitcoin instantly.
Community QR: Links to our guide – helps new users get started with Bitcoin, growing the ecosystem and bringing you more Bitcoin-ready customers!
✅ Merchant QR Checklist:
Receiving Bitcoin
Learn how to receive Bitcoin payments
✅ TASK CHECKLIST:
⚡ HOW TO RECEIVE BITCOIN:
• From the Blink home screen, tap the “Receive” button
• The app will ask you to specify an amount (e.g., 50,000 sats or $5)
• Enter the amount you want to receive
• Tap “Create Invoice” or “Generate”
• A QR code will be displayed – this is your Lightning Invoice
If sender is near you:
• Have them scan the QR code directly with their wallet app
If sender is remote:
• Tap “Copy” or “Share” to send the payment request via text, email, or messenger
• Or share your Lightning Address: yourname@blink.sv
• Once the sender pays, Bitcoin appears in your wallet instantly!
💡 TIP:
Your Lightning Address (yourname@blink.sv) works like an email – anyone can send you Bitcoin without generating an invoice each time!
Sending Bitcoin
Make your first Bitcoin payment
✅ TASK CHECKLIST:
➡️ HOW TO SEND BITCOIN:
• From the Blink home screen, tap the “Send” button
• You’ll be prompted to either Scan a QR Code or Paste a Lightning Invoice/Address
To scan a QR code:
• Tap the Scan icon
• Point your phone’s camera at the recipient’s Lightning Invoice QR code
-OR-
To paste an invoice/address:
• If recipient sent you a payment request (Lightning Invoice string or Lightning Address like user@blink.sv)
• Paste it into the destination field
• The app will detect the type of request automatically
• The app displays the amount and fee (often zero or very low for Lightning)
• Review the details carefully
• Tap “Confirm” or “Send”
• Transaction is sent instantly over the Lightning Network!
💡 TIP:
Double-check the amount and recipient before confirming! Bitcoin transactions are instant and cannot be reversed.
For Merchants: Get Listed on Bitcoin Maps
Add your business to btcmap.org & map.bitcoin.com
🏪 Are You a Merchant?
If you accept Bitcoin at your business, follow these steps to get listed on the Bitcoin Maps so customers can find you!
Not a merchant? You’re done! Skip to the final section below.
🗺️ PART A: Add to BTC Map (btcmap.org)
• Open your web browser
• Go to: btcmap.org/add-location
• Find “Done-for-you” form
Merchant Name: Enter your official business name
Select Location: Use the map tool to place a pin where your business is
Address: Enter your full street address (optional)
Category: Select business type (Restaurant, Retail, Service, etc.)
Select payment methods you accept:
On-chain: Traditional Bitcoin (higher fees, slower)
Lightning: Fast, cheap Bitcoin payments (Recommended – your Blink Wallet!)
Lightning Contactless: NFC/tap-to-pay via Lightning
• Website (optional)
• Phone (optional)
• Opening Hours (optional)
Data Source: Select “I am the business owner”
Public Contact: Provide email for verification
• Review all information
• Tap “Submit Location”
• A volunteer will verify and add your business to the map
• Your business will appear on btcmap.org
🗺️ PART B: Add to Bitcoin.com Map
• Navigate to: map.bitcoin.com
• Tap the “Submit Listing” button (usually bottom right corner)
• The form will prompt you to search for your business
• If your business is on Google Maps, it will fetch that data
• If not on Google Maps, manually input your business address
Fill in required details:
• Business Name
• Address and geographical location
• Categories (Food & Drink, Shopping, Services, etc.)
• Contact details (for verification)
• Cryptocurrencies you accept (Bitcoin, Bitcoin Cash, etc.)
• Submit your listing
• Bitcoin.com Maps support staff will review (usually 1-2 business days)
• Upon verification, your business is added to the map
Note: Only physical businesses (not online-only) are listed
✅ MERCHANT CHECKLIST:
🎉 CONGRATULATIONS!
You’re now part of the peer-to-peer Bitcoin economy! Your business will be discoverable by Bitcoin users worldwide.
🎉 Setup Complete!
You’re ready to use Bitcoin! Explore the Bitcoin Map to find businesses or list your own.
Want to demo this guide again or help someone else get started?